Tag: Climate Change Gardening

  • How to Grow Peas in the Humid Cold: Quick Crops for the Cushion

    How to Grow Peas in the Humid Cold: Quick Crops for the Cushion

    “Peas are easy to grow, but their growing period is limited. It’s essential to plant them early enough in spring so they mature while the weather is still cool.” — The Old Farmer’s Almanac

    If you’re gardening in Zone 8b’s humid cold, you’ve got a secret advantage: that 5-10 degree cushion that keeps the soil warmer than the air suggests. Peas thrive in this window—those cool, damp days of late winter and early spring when the thermometer hovers in the 40s and 50s. Miss the timing, and spring heat will shut them down before you get a harvest. Plant them right, and you’ll be snapping fresh pods while your neighbors are still flipping through seed catalogs.

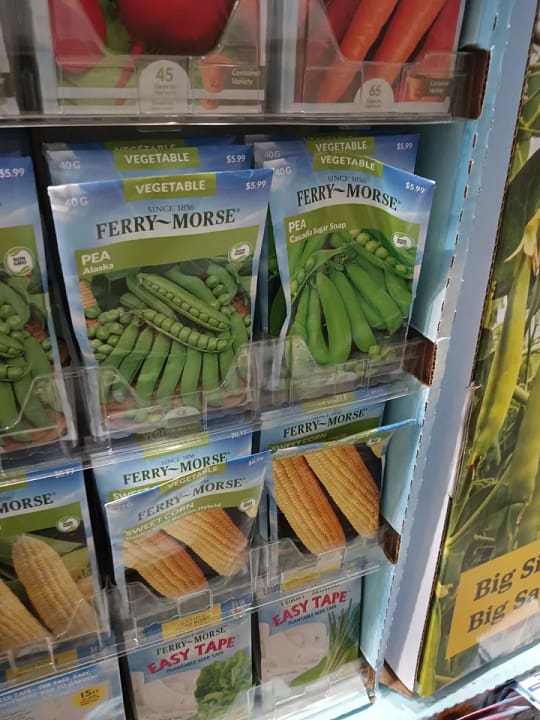
    This is my first time growing peas. I’ve got Cascadia sugar snap peas in hand—a variety I chose specifically because you can eat them as snap peas early, giving me the fastest route to something fresh from the garden. I also have cowpeas set aside for later in the season, but right now, it’s all about catching that narrow spring window.

    Here’s how to grow peas in the humid cold, from soil prep to harvest.

    Why Peas Love the Humid Cold Cushion

    Peas are cool-season crops that germinate when soil temperatures hit 45°F and thrive in air temperatures between 55-70°F. In Zone 8b’s humid cold climate, the ground stays warmer than you’d expect—often 5-10 degrees above the air temperature. This “cushion” is your planting advantage.

    While the calendar might say it’s too early, the soil knows better. That humid cold creates the perfect germination environment: moist (not waterlogged), cool (not frozen), and stable. Peas planted in this window establish strong roots before spring heat arrives, giving you a longer harvest window.

    The key is timing: plant too late, and the vines will be setting pods just as temperatures climb into the 80s. Peas shut down in heat. But plant them during the humid cold, and you’ll harvest before the season turns.

    Varieties That Work in Zone 8b

    Not all peas are created equal. For the humid cold, you want varieties that:

    • Germinate reliably in cool, damp soil
    • Mature quickly (55-70 days)
    • Can handle fluctuating spring temperatures

    Cascadia Sugar Snap Pea is what I’m planting. It’s an early variety (around 60 days) that produces sweet, crisp pods you can eat whole. The dual-purpose nature means I can start harvesting as snap peas for immediate eating, which gets something fresh on the table fast.

    Other solid choices for Zone 8b:

    • Sugar Ann (52 days) — a dwarf variety that doesn’t need trellising
    • Oregon Sugar Pod II (60 days) — a classic snow pea, also edible-pod
    • Lincoln (65 days) — a shelling pea if you prefer traditional garden peas

    Save the cowpeas (southern peas) for later. They’re a warm-season crop that loves heat and humidity, perfect for planting after your cool-season peas are done.

    Planting Peas in Damp Conditions

    In the humid cold, soil moisture is rarely a problem—in fact, you’re more likely dealing with too much water than too little. Here’s how to plant peas without drowning them:

    Soil prep: Peas don’t need rich soil (they fix their own nitrogen), but they do need drainage. If your beds hold water, consider planting on a slight mound or ridge to keep roots from sitting in saturated soil.

    Starting indoors or direct sowing: Peas are typically direct-sown because they don’t love transplanting, but you can start them indoors if you want a head start or need to work around weather.

    I planted thirteen Cascadia sugar snaps in recycled plastic cups from last year—the ones I keep in a bin and reuse season after season. I’m using less plastic overall thanks to soil blocks (those compressed soil cubes that eliminate pots entirely), but soil blocks require a special soil mix that’s more expensive. My rule of thumb: I don’t use that special blend on large seeds unless they’re known to be difficult to propagate. Peas are big, easy seeds, so regular potting soil in recycled cups works perfectly and saves money.

    (Seed planting and propagation are usually my wife’s department—she’s the boss of that operation. But large seeds are easy enough that I’m allowed to handle them.)

    If you’re direct sowing instead, plant seeds 1 inch deep, 2 inches apart, in rows or blocks. Either method works—just get them in the ground or in containers while soil temps are right.

    Inoculant: If this is your first time growing peas in a bed (like it is for me), dust the seeds with rhizobium inoculant. This beneficial bacteria helps peas fix nitrogen, converting atmospheric nitrogen into a form the plants can use. It’s cheap insurance for a better crop, and the Clemson Home & Garden Information Center recommends it for all legumes.

    Timing: In Zone 8b, aim to plant peas 6-8 weeks before your last frost date. For coastal South Carolina, that’s typically late January through early February. Soil temperature is more important than air temperature—once the soil hits 45°F, you’re good to go.

    Trellising in Damp Conditions

    Most pea varieties need support, and in the humid cold, your trellis setup matters. Damp conditions encourage fungal diseases, so good airflow is critical.

    My setup: I’m using a trellis that’s still standing from last year’s tomatoes—two galvanized pipes on the ends with cheap netting the boss bought from Temu, all secured with zip ties. It won’t make you jealous, but it works. Reusing what’s already in place saves time and money, and the netting provides plenty of support for pea vines.

    Other trellis options:

    • Bamboo poles and twine: Simple, cheap, and effective. Lean poles in an A-frame or set them vertically with horizontal twine every 6 inches.
    • Cattle panel arch: Sturdy, reusable, and provides excellent airflow for larger plantings.
    • Any vertical netting: As long as it’s secured and stays taut, peas will climb it.

    Key principle: Keep pea vines off the ground. Leaves touching damp soil invite powdery mildew and rot. A trellis also makes harvesting easier—no bending over to hunt for pods.

    Set up your trellis at planting time. Peas grow fast once they germinate, and trying to install support later risks damaging roots.

    Harvesting Before Spring Heat

    Peas have a narrow harvest window. Once temperatures consistently hit the 80s, the vines will yellow and production will stop. Your goal is to harvest as much as possible before that heat arrives.

    When to harvest:

    • Snap peas (like Cascadia): Pick when pods are plump but before they get tough. You want that sweet, crisp snap.
    • Snow peas: Harvest when pods are flat and tender, before the peas inside swell.
    • Shelling peas: Wait until pods are full and rounded, then shell and eat the peas inside.

    Check your vines every 2-3 days once they start producing. Peas mature fast, and letting them over-ripen signals the plant to stop producing.

    Storage: Fresh peas are best eaten immediately, but they’ll keep in the fridge for about a week. Blanch and freeze any surplus—they hold up beautifully.

    Final Thoughts: Align with the Mercury

    The humid cold gives you a planting advantage, but only if you use it. Peas won’t wait for perfect conditions—they need you to plant them when the soil is ready, not when the calendar says spring has officially arrived.

    This is my first time growing peas, and I’m betting on that cushion of warm soil to germinate these Cascadia sugar snaps before the season turns. If you’re in Zone 8b or anywhere with humid cold conditions, this is your moment. Get those peas in the ground, set up your trellis, and start counting down to harvest.

    The drive is real. The mercury is right. It’s time to plant.

    What to Plant Next

    Once your peas are in the ground (or in cups waiting to transplant), consider what else thrives in the humid cold window. Cabbage is another cool-season champion that loves the same conditions as peas—plant them together and you’ll be harvesting fresh greens while spring is still cool. And if you’re looking to cut down on plastic waste in your seed starting, check out my guide to soil blocking, which has become a game-changer in my garden setup.

  • Ditch the Plastic: How Soil Blocking Clears Garden Clutter and Grows Better Plants

    Ditch the Plastic: How Soil Blocking Clears Garden Clutter and Grows Better Plants

    Daily writing prompt
    Where can you reduce clutter in your life?

    My answer is hiding in the garden shed, buried under a stack of cracked plastic cell packs from three years ago.

    If you’ve ever started seeds indoors, you know the problem. The plastic six-packs multiply. The flimsy cell trays crack after one season. The red Solo cups with holes punched in the bottom pile up in corners. The nursery pots from transplants stack into leaning towers that fall over every time you open the shed door. By March, your propagation station looks less like a garden workspace and more like a recycling center that’s given up.

    The best way to reduce clutter in the garden is soil blocking.

    Not because it’s trendy. Not because it’s “zero waste” in that performative way. Because it eliminates an entire category of stuff you no longer need to own, store, wash, or trip over.


    The plastic problem: why seed starts breed clutter

    Here’s what happens when you start seeds in plastic:

    • You buy cell packs or trays at the nursery or hardware store. They’re cheap and flimsy, so they crack after a season or two.
    • You try to reuse them. Now you have to wash them, dry them, and store them for the next season.
    • Some crack. Some disappear. You buy more.
    • You also accumulate nursery pots from every transplant you’ve ever bought. 4-inch pots. 6-inch pots. 1-gallon pots. They nest, but not neatly. They take up space.
    • You tell yourself you’ll reuse them, so you keep them. But they’re brittle from UV exposure. Half of them are too small for what you need, and the other half are too big.
    • Now you have a bin. Or two bins. Or a corner of the shed where plastic lives.

    And every spring, you dig through the pile, toss the cracked ones, wish you had more of the size you need, and end up buying more anyway.

    Clutter isn’t just about the volume of stuff. It’s about the category of stuff you have to manage.

    Plastic seed-starting containers are a category. A category with upkeep, storage, and decision fatigue. Soil blocking eliminates that category.


    What soil blocking actually does

    A soil blocker is a metal tool that compresses moist potting mix into firm, free-standing cubes. You fill a tray with the blocks, plant a seed in each one, and grow your seedlings without containers.

    Here’s what you eliminate:

    • Cell packs and trays: You don’t need them. The soil block is the container.
    • Washing and storage: Soil blocks dissolve back into the garden when you transplant. There’s nothing to clean or store.
    • Nursery pot accumulation: Once you start blocking, you stop needing to save every pot that comes home with a transplant. You transplant directly from blocks to the ground (or a permanent container).
    • The “what size do I need?” problem: You buy one or two soil blockers in the sizes you use most (2-inch and 4-inch, typically). That’s it. You’re done buying.

    The physical footprint: My mini soil blocker and a small bin of blocking mix take up less space than a single stack of nursery pots used to.


    The freedom of no storage

    This is my first year using soil blocks, and I’ve already noticed a huge difference.

    When I’m done with a tray of seedlings, there’s nothing to put away. No trays to scrub. No cracked cells to sort. No stack of pots I’m not sure I’ll need next season.

    I rinse the blockers under a hose, let them dry, and hang them on a nail.

    That’s it.

    Reducing clutter isn’t just about throwing things away. It’s about not needing them in the first place.


    Better plants, less mess

    The hidden benefit of soil blocking is that it also produces better transplants.

    Why soil blocks work:

    • Air pruning: When roots hit the edge of a soil block, they’re “air pruned” by exposure to air. The root tip dies back, and the plant sends out new lateral roots instead of circling. You get a dense, fibrous root system instead of a tangled mess. This is especially vital when growing cabbage in the humid cold, where early root health determines the plant’s resilience.
    • No transplant shock: Because roots aren’t circling or bound, seedlings transplant cleanly. You pop the block into the ground, and the plant keeps growing. No setback.
    • Water management: Soil blocks dry out faster than plastic cells, which sounds bad but is actually good. It reduces damping-off (a fungal disease that kills seedlings in overly wet conditions). You water more intentionally.

    So you’re not just reducing clutter. You’re growing stronger plants with a simpler system.

    Reducing plastic in the garden isn’t just about decluttering—it’s part of a larger strategy for climate adaptation. If you’re interested in how traditional practices like soil blocking fit into modern climate-aware gardening, check out my post Gardening in the Humid Cold: Old Wisdom Meets New Climate.


    How to start (and what you actually need)

    If you’re tired of the plastic pile and ready to try soil blocking, here’s the minimal kit:

    1. A soil blocker

    I started with a mini blocker (makes 20 small blocks at a time, about 3/4 inch each). It’s perfect for starting seeds that will be potted up or transplanted fairly quickly—brassicas, lettuce, herbs, and most vegetables. The mini size is ideal for maximizing space and starting a lot of seedlings at once.

    If you need larger blocks for plants that need more time indoors before transplanting, you can add a 2-inch blocker (makes four 2-inch blocks) or a 4-inch blocker for potting up.

    Brands: Ladbrooke or Johnny’s Selected Seeds blockers are the standard. They’re not cheap ($30–40 for a 2-inch blocker, around $25 for a mini), but they last decades.

    2. Blocking mix

    Soil blocking requires a specific mix that holds together without a container. You can buy pre-made blocking mix, or make your own.

    Basic DIY blocking mix:

    • 3 parts peat moss or coconut coir (a sustainable peat alternative)
    • 2 parts compost (well-aged, screened)
    • 1 part perlite
    • A bit of garden soil for structure (optional)

    Moisten the mix until it’s the texture of a wrung-out sponge. It should clump in your hand without dripping.

    3. A shallow tray

    You need something to hold the soil blocks while seedlings grow. A standard 10×20 nursery tray works (yes, one piece of reusable plastic is fine). Or use a rimmed baking sheet, a shallow wooden tray, or anything flat with a lip.

    4. That’s it

    No bins of pots. No stacks of cracked six-packs. No “I might need this size someday” guilt.

    If you’re looking for a complete roadmap for the season that includes seed starting as a primary step, check out my A-Z guide to spring gardening.


    The practice

    Reducing clutter isn’t about minimalism for its own sake. It’s about clearing space—physical and mental—for what actually matters.

    In the garden, what matters is growing. Not managing plastic. Not storing things you’re not sure you’ll use. Not washing cracked trays in March while wishing you’d just thrown them away.

    Soil blocking clears that space. It simplifies the system. And once you try it, you realize that half the gardening clutter you’ve been managing wasn’t necessary in the first place.

    This spring, when you’re digging through the shed looking for something to start your seeds in, ask yourself: What if I didn’t need any of this?

    The soil blocker is waiting.


    What clutter are you ready to eliminate in your garden? Drop a comment below—I’d love to hear what gardening gear you’re rethinking this season.

  • Gardening in the Humid Cold: Old Wisdom Meets New Climate.

    Gardening in the Humid Cold: Old Wisdom Meets New Climate.

    “A guide to combining passed-down gardening wisdom with new tools and weather data to successfully grow crops in a humid cold, changing climate.”

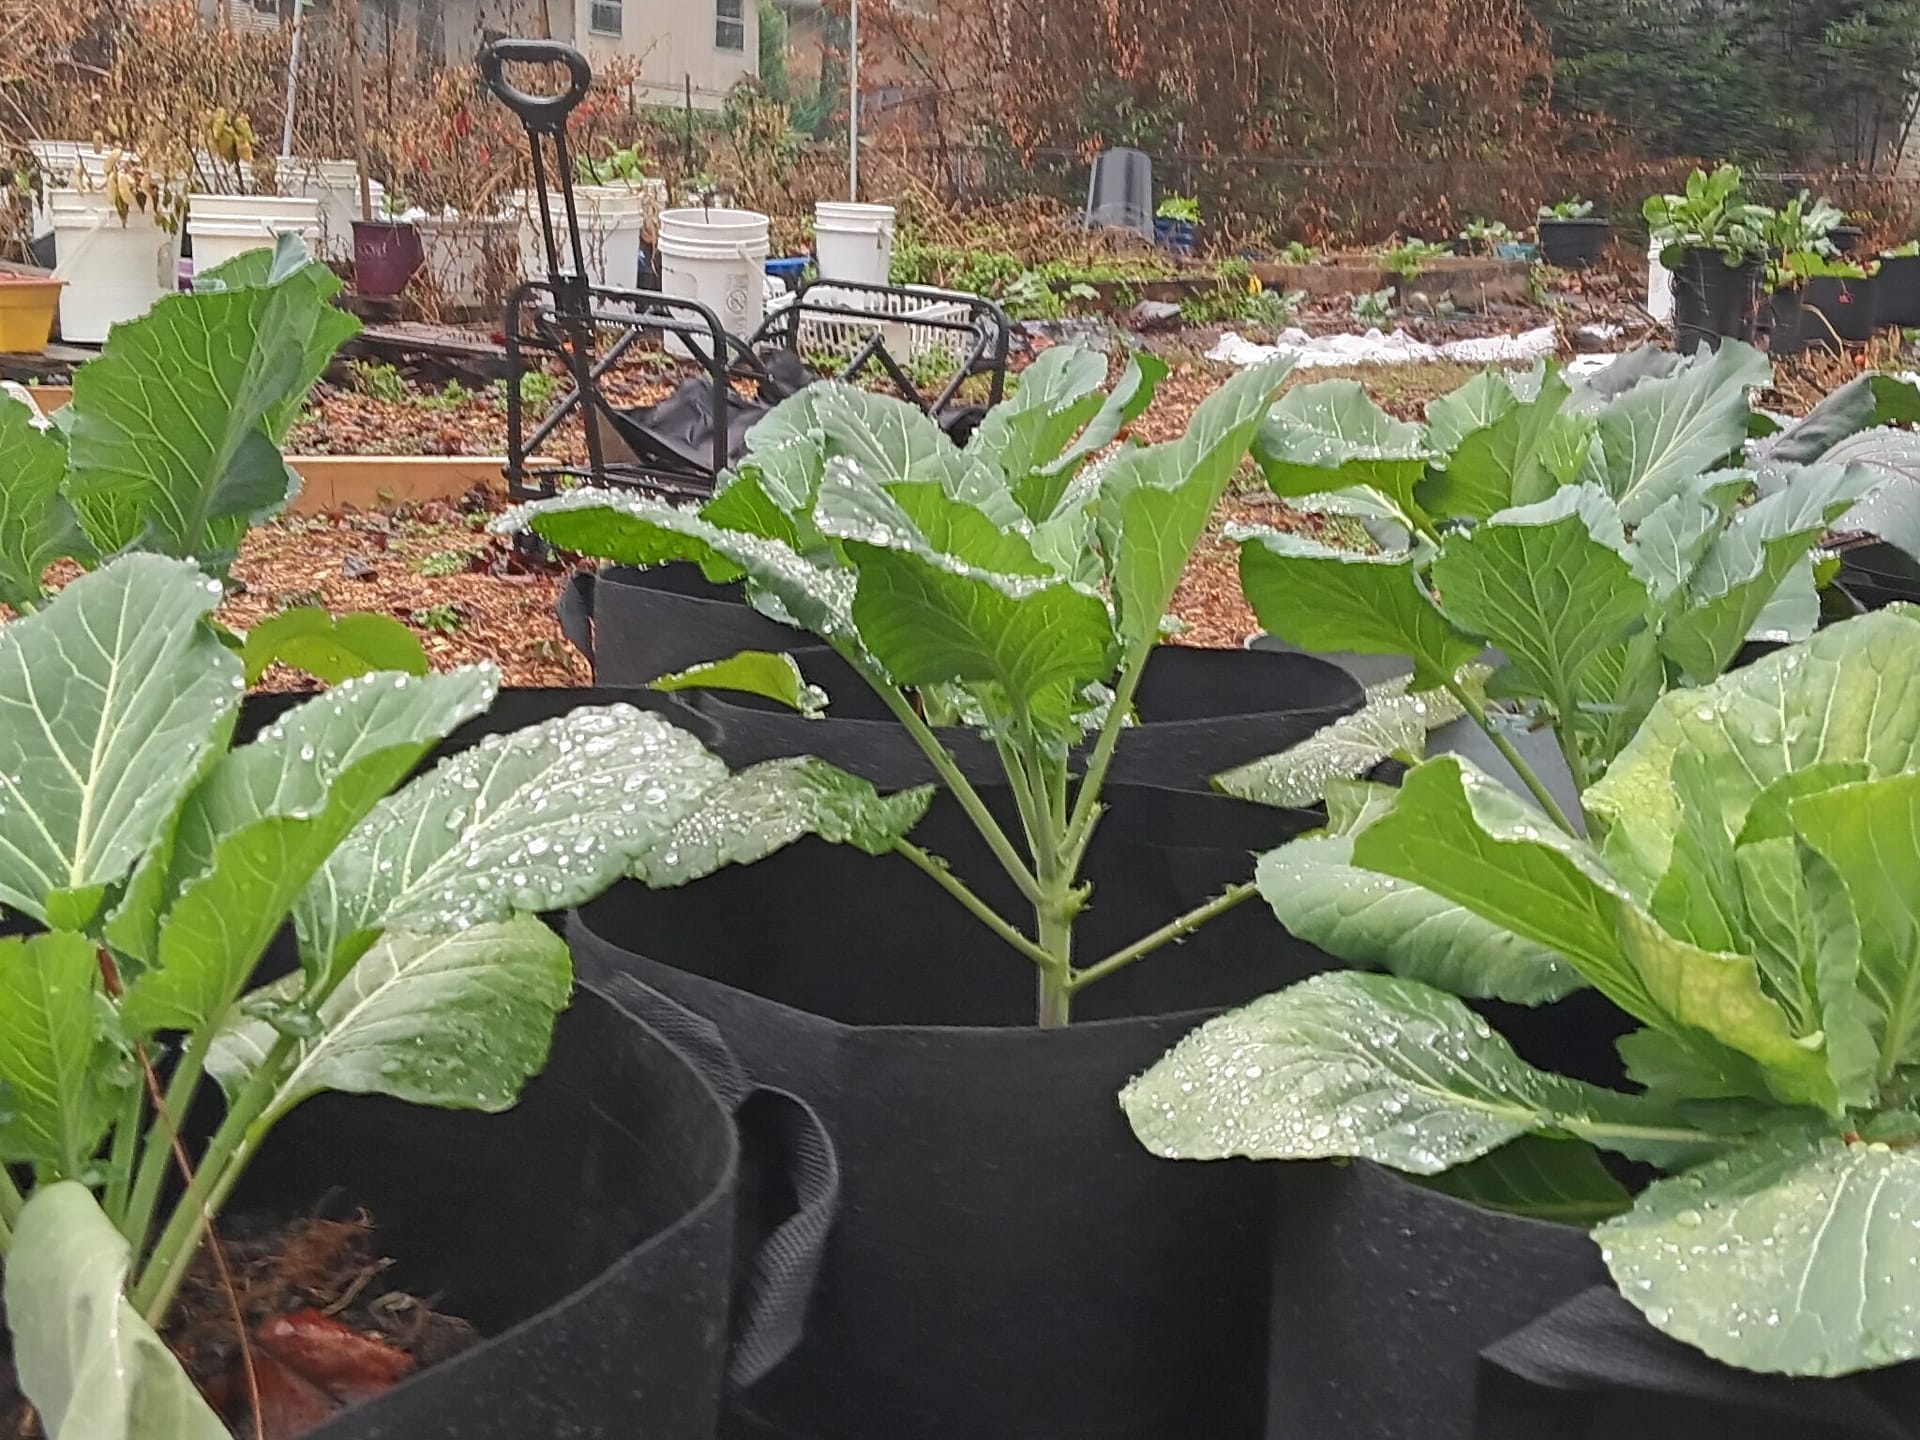
    There are mornings in my zone 8b garden when the air feels almost cold on my face, but my brassicas say otherwise. The thermometer at the kitchen window might read a crisp 45°F. The forecast app might paint the day in cool blues. But the plants, sitting in a pocket of damp air, are living closer to 55°F than anyone admits.

    “We need the cold,” one old timer likes to remind me. It is a line with decades of crops behind it, a kind of verbal fertilizer sprinkled over every conversation about cabbage and collards. For a long time, I treated that sentence like code: wait for a clean, honest chill before tucking in anything that loves the cold.

    The trouble is, the chill itself has changed.

    In my lifetime, zone 8b has shifted at least twice on paper, and even more times in feeling. Winters come on later and leave sooner. Humidity hangs around like an extra blanket, turning “cool” nights into something softly, secretly warm. The dry‑bulb temperature still says one thing, but the plants live in another.

    So these days, I still listen when the elders talk about cold fronts and brassicas. I just keep one ear on them and one eye on the graph in my weather app. The Ol’ Way has not disappeared here; it is plugged into a new system. What follows is how I garden in the humid cold now, stitching together grandma’s rules, a few cheap sensors, and a lot of trial and error into a practice that actually fits the weather we have.

    The old folks had their own kind of AI: elders passing down heuristics like weather lore and planting rules. Their sayings weren’t algorithms, but they worked like code snippets. “We need a good hard frost.” “Don’t plant until after Easter.” “Brassicas like the cold.” Each line was a call to action, a reminder to heed the rhythms of the season.

    In the 1920s, bone meal and blood meal were the “formulas” that helped launch home gardening as we know it — simple inputs, surprisingly effective. A century later, plenty of growers still swear by them. Hollis and Nancys Homestead on YouTube carry that torch, demonstrating the Ol’ Way in real time: a scoop of bone meal here, a handful of compost there, and a running commentary full of those old if‑then rules.

    The Ol’ Way is less about products and more about patterns. Frost dates scribbled on a calendar. The feel of soil between your fingers. The way a leaf curls to tell you it is thirsty or cold. These rules are the API of gardening wisdom, passed down in porch talk and field notes, half science and half story.

    I grew up inside that system. When I quote an elder saying, “We need a good hard frost,” I am not just reaching for a charming line. I am tapping into a living codebase of experience, the heritage script that still underpins everything I do in the garden. These days, though, I am also running new tools on top of that old API — forecasts, cheap sensors, garden apps — because the weather those sayings were written for has changed.

    🌍 The New Climate Reality

    Zone 8b has pulled a quiet switcheroo at least twice in my lifetime, and with it the rules I thought I could trust. What once felt like crisp, cool air now hides invisible heat — humidity that makes the day feel ten degrees warmer than the thermometer reads. The Ol’ Way says “we need the cold,” but the cold itself has grown slippery.

    Concrete mismatches keep piling up:

    • Frost dates that slide later and later. Lisa Ziegler at The Gardener’s Workshop taught me the old trick of laying a simple frost barrier and leaving it, but these days Jack Frost does not show up until November. In 2024, he waited until around the 20th.
    • Crops bolting earlier than expected. Succession planting can soften the blow, but the rhythm feels off.
    • Diseases and pests arriving out of season. Turnip greens with holes in November should not be happening. Yet here we are.

    If you garden in a humid cold, you may already feel that mismatch between the calendar and your beds — doing everything “right” and still watching the season slip sideways. The problem is not that the elders were wrong. It is that the weather quietly changed underneath their rules.

    This fall I chased the big one — a big Ol’ head of cabbage, the likes of which I had not grown before. My code was succession planting, the Ol’ Way. But I still have not learned exactly when to plant for the head to size up right.

    Summer was brutal, not just here but across the U.S. Chicago saw record August temperatures. I thought about starting cabbage then, but cutting back tomatoes, chasing cucumber beetles and pickleworms, and keeping up with watering wore me thin. I water by hand, working from home, because I want that to be my primary method. Rain comes in a pattern of deluge and drought, so container plants sometimes need three passes of water a day. Oddly enough, okra and peppers in the ground thrived, hitting the table shelf and mostly sustaining themselves.

    But the cabbage was my quarry.

    I finally planted in mid‑September during a cool spell, starting with ten of forty‑five seedlings, then adding more. I leaned on another Ol’ trick: plant a variety of brassicas. Some say purple varieties like Early Acre (mine from Everwilde, in a packet full of beautiful packaging and words of wisdom) can shelter faster growers like Katarina from Hoss Tools. Two weeks in, I saw development. Two weeks later, I could tell I would get more cabbage than before — but the timing window for a truly big head had slipped away.

    What I have discovered is that I will need to start cabbages in the heat of August and use mitigations like shade cloth to bring them up. That is the new reality: adapting the Ol’ Way to conditions that no longer match the calendar. Even so, I have already harvested Chinese cabbage this season — proof that growth is still possible, just not on the old schedule.

    “The garden suggests there might be a place where we can meet nature halfway.” – Michael Pollan

    🌱 Hybrid Practice: Old Wisdom + New Tools

    So how do you actually garden in this humid cold, with elders in one ear and an overheating planet in the other? I have started treating my garden like a conversation between old rules and new tools. The Ol’ Way gives me the heuristics, the sayings, the porch‑talk wisdom. The new tools give me data, alerts, and ways to adapt when the weather shifts underneath those rules. Together, they form a hybrid practice.

    ⏳ Timing cabbages

    The old timers say brassicas need the cold, and they are right — but the cold arrives later now, and the window for a big head of cabbage is narrower. I have learned to start in August, even in the heat, and use shade cloth to protect seedlings until the nights cool. Forecast graphs help me decide when to risk planting, and succession planting — an Ol’ Way trick — still gives me backup if the first round bolts.It is a remix: grandma’s rules patched with forecast graphs. For a complete breakdown of timing these shifts, see my A-Z of Spring Gardening guide.

    💧 Water and containers

    The Ol’ Way taught me to “watch the soil” and water by hand. I still do that, but I have added a rhythm: three passes on container plants during deluge‑and‑drought cycles. A simple moisture meter helps me confirm what my hands already know. The elders’ advice — “do not let it dry out” — becomes a schedule I can track, blending tactile wisdom with a cheap sensor.

    🛡️ Protection and microclimates

    Old wisdom says “lay the frost cloth and leave it.” I still do, but now I check forecast alerts to know when Jack Frost is actually coming. A cheap sensor tucked in the bed tells me when the microclimate dips below safe levels. The Ol’ Way gave me the cloth; the new tools tell me when to use it. Together, they create a patchwork of protection that feels both timeless and timely.

    🌿 A three‑way conversation

    I used to think you had to choose between the Ol’ Way and the new tools. Now I see them as a kind of three‑way conversation: elders and neighbors, the plants themselves, and a quiet AI helper that remembers what I forget. As a fledgling writer, I get to wander through the garden in an expansive, story‑drunk way, while the machine keeps the ledger — dates, temps, failures, little wins. The garden is my field, the blog is my logbook, and the AI is my chronicler.

    But here is the truth I am learning: you do not have to garden or write alone. The elders lend us their rules. The garden offers its feedback. And the AI can sit in the background as a steady logger, so you and I are free to wander, notice, and make meaning.

    “When the calendar and the climate mismatch, how do brassicas thrive? Learn how to navigate shifting frost dates and invisible heat in Zone 8b by blending old-timer techniques with new technology.”